How to Check Your Builder's Work: The Homeowner's Quality Guide
Don't wait until snagging to spot problems. Check foundations, brickwork, roofing, electrics, and plumbing as they happen. Plain English checklists for every stage.
Your builder's been on site for a week. Walls are going up, concrete's been poured, and everything looks busy and productive. But how do you actually know the work is any good?
Here's the uncomfortable truth: 93.7% of new build buyers report defects in their homes. The average new build has over 160 snags. And these are homes built by volume housebuilders with quality management systems, site managers, and building control oversight. Smaller domestic projects - your extension, your loft conversion, your renovation - often have less oversight, not more.
Building control will inspect your project at key stages, but they're not on site every day. They visit when your builder calls them, and each inspection covers regulatory compliance, not workmanship quality. If your builder doesn't call for an inspection at the right moment, work gets covered up - and nobody checks what's underneath until something goes wrong.
That's where your own inspections come in. You don't need a construction degree. You need to know what to look for, when to look for it, and what questions to ask. This guide gives you the overview. The linked articles below go deep on each trade.
Building control inspection stages
Before we get into specifics, it helps to understand the official inspection framework. Building control (either your local authority or an approved inspector) typically inspects at these stages:
- Commencement - notifying that work has started
- Foundation excavation - checking the trench depth and ground conditions before concrete
- Foundation concrete - verifying the concrete spec and pour
- Damp proof course (DPC) - checking the damp barrier is correctly positioned
- Structural steelwork - inspecting beams and supports before they're built over
- Drainage - testing pipe runs and gradients before backfilling
- Roof structure - verifying timbers, bracing, and ventilation
- Insulation - checking thermal and acoustic insulation before it's covered
- Completion - the final sign-off and issuing of the completion certificate
Your builder is responsible for booking these inspections at the right time. Building control won't chase them. If a stage gets missed, you may end up with work that was never formally inspected - and that can cause problems when you come to sell.
Your job: confirm with your builder that each inspection has been booked and passed. Ask to see the inspection record. If building control hasn't visited when they should have, raise it immediately.
The 10 areas to check yourself
Building control inspections are necessary but not sufficient. Here are the areas where your own eyes (and a bit of knowledge) make a real difference.
1. Foundations
Your builder's just dug the foundations. Before that concrete goes in, you've got a window to check some things that'll be buried forever.
Foundation depth depends on soil type and tree proximity. On clay soil near trees, you might need foundations a metre deep or more. On stable ground with no trees, 600mm may be enough. Building control will inspect this, but it's worth understanding why - if the foundation depth doesn't match your site conditions, you're storing up problems for decades.
Look for water sitting in the trench, soft spots in the bottom, or contaminated ground (old pipes, rubble, organic material). All of these need addressing before concrete goes in.
For the full checklist, see our foundation inspection guide.
2. DPC and damp proofing
The damp proof course is a physical barrier - usually a thick plastic membrane - that stops moisture rising up through the walls. It needs to sit at least 150mm above the finished ground level outside. If paths, patios, or soil are built up against the wall above the DPC later, moisture will bypass it entirely.
Check that the DPC links properly to the floor membrane. There shouldn't be any gaps or tears. This is one of the most common sources of damp problems in new builds, and it's invisible once the floor screed goes down.
Our detailed DPC and damp proofing guide covers exactly what to look for.
3. Brickwork and cavity walls
External wall defects account for 31% of all building defects - more than any other category. That includes dodgy brickwork, missing or incorrectly installed wall ties, gaps in cavity insulation, and blocked cavities.
The things to watch: consistent mortar joints (10mm is standard), wall ties at the correct spacing (typically 900mm horizontally, 450mm vertically), cavity trays above openings, and weep holes that actually drain. If you can see mortar droppings bridging the cavity, insulation that's been compressed or left with gaps, or wall ties that slope inward (carrying water to the inner leaf), flag it early.
For a full walkthrough with photos of what good and bad looks like, see our How to Check Brickwork Quality guide.
4. Structural steelwork
If your project involves removing a load-bearing wall or opening up rooms, there'll be steel beams involved. These need proper padstones (or spreader plates) at each bearing point, and the bearing length specified by the structural engineer must be met exactly.
Once brickwork is built over the beam ends, you can't see them. Check before they're covered. Confirm the steel spec matches what the structural engineer specified - the wrong beam size or grade is a serious structural issue, and it does happen.
See our complete structural steelwork inspection guide for the full checklist.
5. Drainage
Drainage defects are maddening because they often don't show up for months or years - a slow drain, a persistent smell, a damp patch that comes and goes. By then, everything's buried under concrete and tarmac.
Before backfilling, check pipe gradients. Building Regulations Part H specifies a minimum gradient of 1:80 for 100mm pipes (a 12.5mm fall per metre) and 1:40 for 75mm pipes. Pipes should be bedded on pea gravel, not dumped on uneven ground. Access chambers need to be at every change of direction and at junctions. Make sure inspection covers are flush and accessible - not buried under a new patio.
Our plumbing and drainage guide has the complete inspection checklist.
6. Roof structure
The roof is one of those areas where problems are expensive and disruptive to fix. Rafter spacing, bracing, ventilation, and insulation position all matter - and they're all much easier to check before the tiles go on and the loft is boarded out.
Key things: rafter spacing should match the structural design (typically 400mm or 600mm centres), bracing needs to be installed per the truss manufacturer's specification, and there must be a clear ventilation path at the eaves. Without eaves ventilation, condensation builds up in the roof space, soaking insulation and rotting timbers.
Our How to Check Roofing Work guide covers everything from tile alignment to lead flashing details.
7. Plastering and internal walls
Plastering is where a lot of homeowners first notice quality problems - because it's visible. Bulging walls, cracking joints, uneven surfaces, and damp patches showing through the skim coat are all signs that something underneath isn't right.
But don't just check the surface. Plasterboard should be properly supported at every edge and fixed at the correct centres. Dot-and-dab shouldn't have excessive gaps behind the board. Moisture-resistant board should be used in bathrooms and kitchens, not standard board.
For the full inspection checklist, see How to Check Plastering Quality.
8. Electrics
Electrical work is one of the few areas where poor quality can genuinely be dangerous. Part P of the Building Regulations requires that most domestic electrical work is either done by a registered competent person (NICEIC, NAPIT, or similar) or inspected and tested by building control.
You can't check the technical detail yourself unless you're qualified, but you can check some important things: that cables aren't surface-run where they should be concealed, that the consumer unit has been upgraded if required, that smoke and heat alarms are correctly positioned, and that you receive an Electrical Installation Certificate (EIC) at the end.
Full details in our How to Check Electrics guide.
9. Plumbing and drainage
Leaks are the number one cause of insurance claims on domestic properties. And most plumbing leaks come from poor joints, incorrect pipe support, or missing isolating valves.
Check that all pipework is properly clipped and supported - hot water pipes especially, as they expand and contract. Isolating valves should be fitted to every appliance so individual items can be serviced without draining the system. If your project involves soil pipes, check that they're properly connected and vented.
See our How to Check Plumbing & Drainage guide for the complete checklist.
10. Windows and doors
Windows and doors bridge the inside and outside of your building envelope. Get them wrong and you get draughts, water ingress, condensation, and security problems.
Check that frames are plumb and level, that opening lights operate smoothly without binding, that drainage slots in the bottom of frames are clear, and that the seal between the frame and the wall (usually expanding foam plus a silicone or mastic finish) is complete and weathertight. If new windows are being installed, you should receive a FENSA certificate or equivalent - without it, you'll have problems when you sell.
Our How to Check Windows & Doors guide covers installation standards, glass specifications, and what the certificates should say.
How to use these guides on site
Knowing what to check is half the battle. Here's how to make it work in practice:
Time your visits. The critical moments are transitions - when one stage finishes and the next begins. Foundations before concrete, DPC before walls, first fix before plasterboard, drainage before backfilling. Ask your builder to let you know before work is covered up.
Photograph everything. Take dated photos of every stage, especially anything that's about to be hidden. These are invaluable if disputes arise later, and they're useful for future maintenance too. A photo of where the drainage runs are can save you thousands in excavation costs in twenty years' time.
Raise concerns early. If something doesn't look right, ask about it the same day. Most issues are easy to fix during construction and ruinously expensive to fix afterwards. A polite "I noticed X - can you talk me through it?" is perfectly reasonable and any decent builder won't mind the question.
Don't wait until completion. A snagging list at handover is standard, but it should only be catching cosmetic issues - a paint drip, a stiff door handle, a chip in a tile. If you're finding structural or compliance problems at the end, something went wrong much earlier.
When to call in a professional
Your own inspections are a valuable safety net, but they have limits. Consider bringing in independent help if:
- You're not confident in what you're seeing. There's no shame in this - construction is a specialist field
- The project is large or complex - a full extension, a structural alteration, or a loft conversion with significant steelwork
- You suspect a problem but your builder is dismissing your concerns
- You want a final snagging survey before making the last payment - a professional snagging surveyor will catch things you'd miss and gives you an independent record. Our practical completion guide explains what happens at handover and how to handle the defects liability period
An independent building inspector (not your builder's building control contact) can inspect at any stage. A snagging surveyor typically visits at completion. Budget £300–£600 depending on the project size and your location.
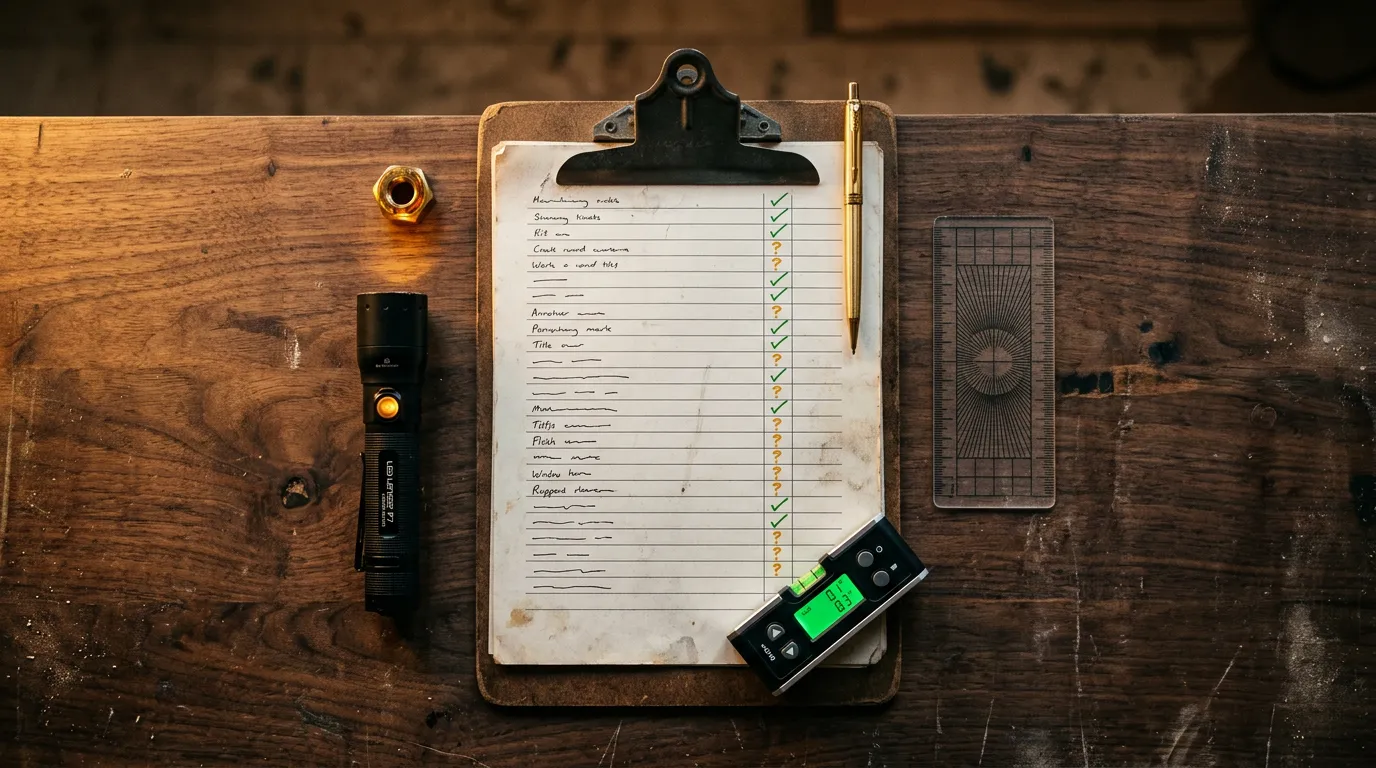
Builder Work Quality Master Checklist
All 8 inspection stages on one printable page - take it to site.
The bottom line
Building control provides a regulatory safety net, but it's not a quality guarantee. Your builder should welcome your interest in the work - the good ones do. Before work even starts, make sure the quote covers everything it should - our guide on what a builder's quote should include helps you spot gaps before they become on-site surprises. If you've got multiple quotes on the table, our guide on how to compare multiple quotes walks you through a structured method. Use the guides linked above to know what you're looking at, visit at the right stages, and photograph everything.
The cost of fixing a problem during construction is almost always a fraction of fixing it afterwards. A wall tie that's wrong costs nothing to replace before the next course of bricks. After the wall's finished and rendered? You're looking at scaffolding, removal, and rebuilding. Your attention at the right moment is worth more than any amount of arguing after the fact.