How to Check DPC and Damp Proofing: What Every Homeowner Should Inspect
Plain English guide to checking DPC and damp proofing on your building project. Covers DPC height, DPM continuity, cavity trays, radon barriers, and common bridging problems.
Damp is the building defect that keeps on giving. It starts invisibly, spreads slowly, and by the time you notice the stain on the wall or the musty smell in the room, the damage has been working away for months or years. And the root cause is almost always something that went wrong - or was done carelessly - during construction.
The damp proof course and membrane system is your building's first line of defence against moisture from the ground. Get it right and you'll never think about it again. Get it wrong and you're looking at damp walls, ruined finishes, and potentially serious structural damage to timbers.
Here's what to check, and when.
TL;DR Checklist
- DPC visible as a continuous black strip in the mortar bed
- DPC sits at least 150mm above finished external ground level (225mm recommended)
- DPC links to DPM in the floor slab - no gaps in the barrier
- DPM lapped minimum 100mm at all joints and taped
- DPM not punctured by services, fixings, or foot traffic
- No render, paving, or soil above or bridging the DPC line
- Cavity trays fitted above all openings with weep holes
- Radon barrier installed where required by local authority
- No mortar droppings on DPC inside the cavity
The Full Guide
What is the DPC and why does it matter?
Every wall in contact with the ground is a potential wick for moisture. Bricks and mortar are porous - they'll happily draw water upwards through capillary action, just like a sponge standing in a puddle. The damp proof course is a physical barrier that breaks this chain.
Walls shall adequately resist the passage of moisture to the inside of the building. A damp proof course of suitable material shall be provided at an appropriate height to prevent rising damp.
In modern construction, the DPC is typically a strip of 1200 gauge polythene or bituminous felt, bedded in a mortar joint near the base of the wall. It runs continuously around the entire building - every external wall and any internal walls that sit on ground-bearing foundations.
The DPC works together with the DPM (damp proof membrane) under the floor slab. Together, they form a continuous envelope that keeps ground moisture outside the building. If there's a gap between the two - where the wall meets the floor - moisture finds its way through.
Checking the DPC position
You're looking for a thin black line in the mortar joints near the base of the wall, typically two or three courses up from ground level. It should be visible from the outside on every external wall face.
The critical measurement: the DPC must be at least 150mm above the finished external ground level. That means the final level - after paths, patios, driveways, and landscaping are complete. During construction the ground may be lower, and it's easy to assume the DPC is high enough, only to find that the finished patio brings the ground level right up to it.
Measure from the DPC to the planned finished ground level, not the current construction level. If paths or patios will be laid later, check the proposed finished levels on the drawings. If there's any doubt, 225mm gives you a comfortable margin.
The DPC-to-DPM connection
This is where a lot of damp problems originate. The DPC in the wall and the DPM under the floor must be linked - lapped, sealed, and continuous. If there's a gap, moisture bypasses both barriers entirely.
In practice, the DPM is usually turned up at the edges where it meets the wall and lapped over or under the DPC. The joint should be sealed. If the DPM just stops at the wall face without connecting to the DPC, you've got a weak point that moisture will exploit.
Check this before the floor screed goes down. Once the screed is poured, the connection is hidden forever.
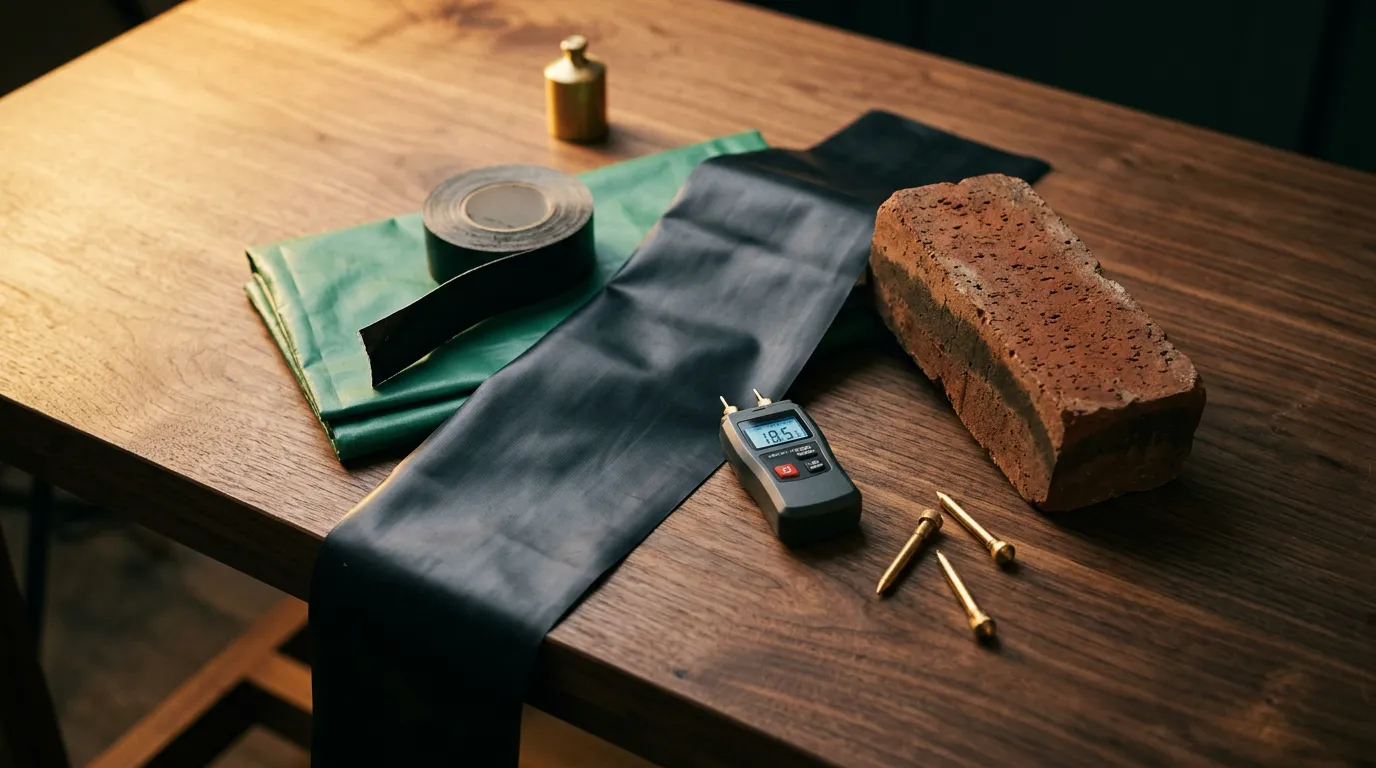
DPM integrity
The damp proof membrane under the floor slab is a large sheet (or overlapping sheets) of polythene, typically 1200 gauge (300 microns). It needs to be:
- Continuous across the entire floor area
- Lapped by at least 100mm at all joints
- Taped at the laps with appropriate DPM tape
- Undamaged - no punctures, tears, or holes
That last point is harder than it sounds on a building site. Plumbers, electricians, and other trades all work on the floor before the screed goes down. Dropped tools, heavy boots, pipe clips fixed through the membrane, and cable routes all risk puncturing it.
Inspect the DPM after all first-fix services are installed but before the screed is poured. Walk the entire floor area looking for tears, punctures, or unsealed laps. Any damage should be patched with DPM tape before the screed goes down.
Bridging - the silent damp creator
DPC bridging is the single most common cause of damp in UK buildings, and it often happens after construction is complete. Bridging occurs when something creates a path for moisture to bypass the DPC. Common culprits:
External render taken below the DPC. If the render face extends below the DPC line, water runs down the render and crosses the barrier. The render should stop at or above the DPC, with a bellcast bead or drip detail to throw water clear.
Raised ground levels. Flower beds built against the house, a new patio laid higher than the original, or soil heaped against the wall for landscaping. Any of these can bring the ground level above the DPC.
Mortar droppings in the cavity. During bricklaying, mortar inevitably falls into the cavity. If it lands on the DPC, it creates a solid bridge between the outer and inner wall leaves. Good bricklaying practice includes laying a timber batten on the DPC during construction to catch droppings, which is then pulled out as the wall rises.
Paving butted against the wall. Paving slabs or concrete laid directly against the external wall face can trap moisture above the DPC. There should always be a gap or a gravel margin between paving and the wall.
Cavity trays and weep holes
Wherever the outer wall is penetrated - above windows, doors, meter boxes, or any other opening - a cavity tray must be installed. This is a shaped piece of DPC material that sits across the cavity above the opening, directing any water that's tracking down the cavity back to the outside face.
Without cavity trays, water that gets into the cavity (and it will - cavities are designed to manage water, not exclude it) pools above openings and soaks through to the inner leaf. The result: damp patches above windows that appear mysteriously during driving rain.
Each cavity tray needs weep holes - small gaps in the mortar joint below the tray that allow trapped water to drain out. They're typically formed with pieces of cord or proprietary weep hole vents at 450mm centres.
Cavity trays shall be provided above all openings and at any point where the cavity is bridged, to prevent moisture tracking to the inner leaf. Weep holes shall be provided at not more than 450mm centres to allow drainage.
Radon protection
Radon is a naturally occurring radioactive gas that seeps up through the ground. In parts of the UK - particularly the South West, East Midlands, and parts of Northamptonshire and Derbyshire - radon levels can be high enough to require protection in new buildings.
If your site is in a radon-affected area, a gas membrane must be installed as part of the DPM. This is a thicker, more robust membrane with sealed joints, and it must be continuous and fully sealed at all edges and penetrations. Your local authority building control will confirm whether radon protection is required.
Common Problems
Ground level built up after construction. The builder finishes with the DPC at a comfortable 200mm above ground. Then the landscaper comes, lays a patio 50mm higher, backfills against the wall with topsoil, and suddenly the DPC is only 100mm up - or worse, below ground level. Always plan finished levels before construction starts.
Render bridging the DPC. External render should stop at or above the DPC line with a proper drip detail. Rendering over the DPC is surprisingly common, especially on rendered extensions where the finish is applied by a different subcontractor who doesn't check the DPC position.
DPM punctured during floor works. Plumbing and electrical first fix often involves fixing clips and brackets through the floor membrane. Each puncture is a potential moisture path. Trades should use self-adhesive clips where possible, and any penetrations should be sealed with DPM tape.
Mortar droppings creating cavity bridges. Mortar falls off the trowel during bricklaying and accumulates on the DPC at the base of the cavity. A good bricklayer uses a cavity batten (a board laid on the DPC and pulled up as work progresses) to keep the DPC clear. Without it, droppings create moisture bridges that bypass the barrier entirely.
Questions to Ask Your Builder
-
"Can you show me where the DPC connects to the floor membrane?" - This tests whether the critical junction has been properly detailed. If they can't show you, it may not exist.
-
"What's the finished external ground level going to be relative to the DPC?" - Forces the builder to confirm that finished landscaping levels have been considered, not just current construction levels.
-
"Are you using cavity batts to keep the DPC clear?" - A question about good practice. If they look confused, mortar droppings on the DPC are likely.
-
"Do we need radon protection on this site?" - Building control will have confirmed this, but it's worth checking that the correct membrane has been installed and sealed.
-
"Where are the cavity trays going above the windows?" - Establishes that cavity trays are planned and the builder understands the detailing required.
DPC & Damp Proofing Checklist
A printable checklist to take on site.