How to Check Plastering Quality: What Good Work Looks Like
How to inspect plastering quality yourself. Flatness tolerances, skim thickness, hollow spots, cracking, and corner beads explained with practical checks.
Plastering sits in that awkward category of building work where you can see the results but might not know what "good" actually looks like until you're living with it. A plasterer will be in and out in a day or two, and the wall will look fine while it's still wet. It's a week later - when the plaster dries, you start decorating, and the raking light through the window shows up every ripple and bump - that you discover whether the work was any good.
Internal wall and ceiling defects account for around 10% of all building defects. That number understates the frustration, because plastering problems are the ones you see every single day from your sofa.
TL;DR Checklist
- Surface flatness within 3mm over a 1.8m straight edge
- Skim coat thickness is 2-3mm (not thicker)
- No hollow spots when you tap across the wall
- Only hairline shrinkage cracks (wide or diagonal cracks = concern)
- Allow drying time of roughly 1mm per day before painting
- Corner beads are straight, plumb, and securely fixed
- Clean, consistent line at the wall-ceiling junction
- Backing coat has adequate thickness before the skim goes on
The Full Guide
Surface flatness
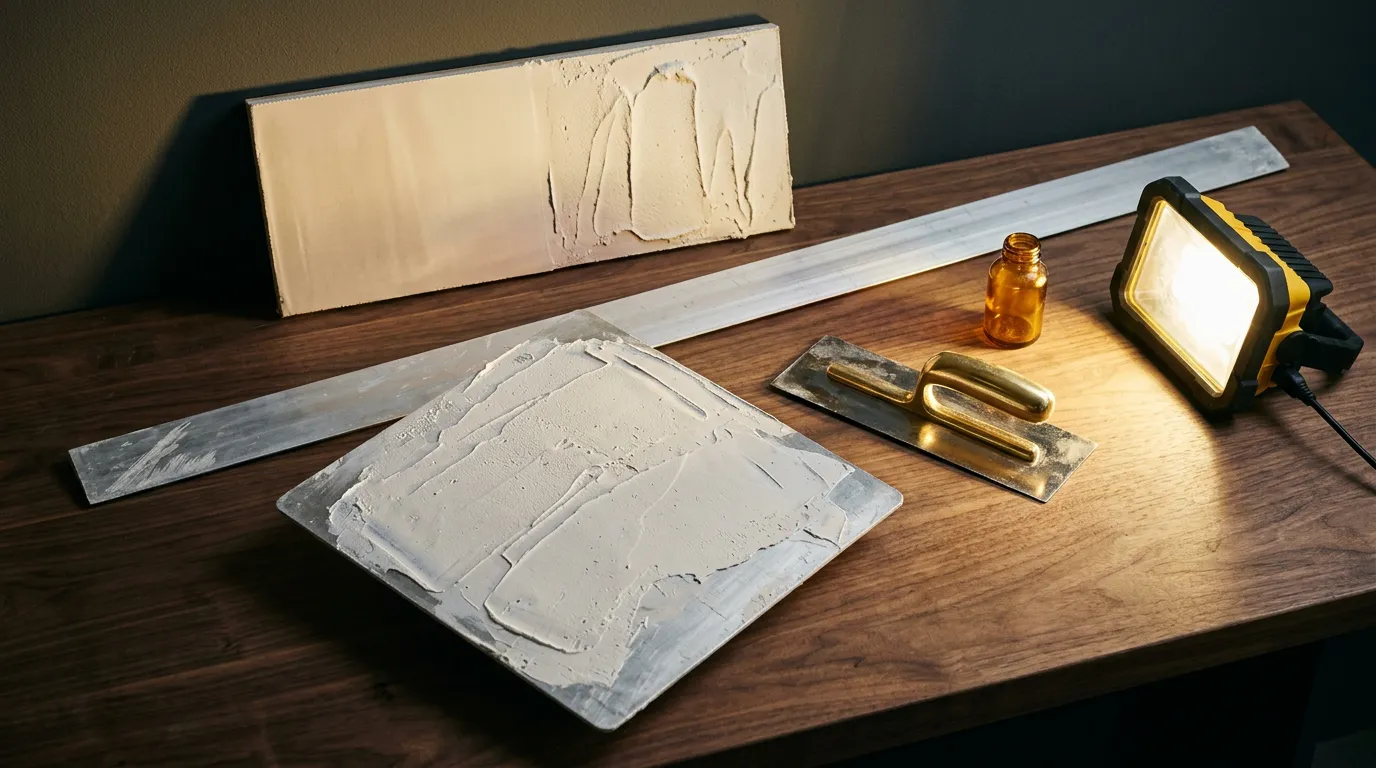
This is the single most important quality check for plastering, and you can do it with a long straight edge - a spirit level works, or even a straight length of timber. Hold it horizontally, vertically, and diagonally against the finished wall. The NHBC standard allows a maximum gap of 3mm between the straight edge and the plaster surface over a 1.8 metre span.
Three millimetres doesn't sound like much, and on its own it isn't visible. But the eye is remarkably good at detecting undulations when light rakes across a surface - that long shadow line from a window that reveals a gentle bulge you couldn't feel with your hand. Run the straight edge check before decorating, especially on walls that face windows.
Do this across the whole wall, not just one spot. A plasterer might get the centre of the wall dead flat but let the edges drift, particularly near corners and at the junction with the ceiling.
Before the plasterer leaves site, check every plastered surface with a 1.8m straight edge. Mark any areas that exceed the 3mm tolerance with a pencil circle so they can be re-worked while the plasterer is still on site. Re-skimming a small area is trivial. Coming back a week later is a different conversation.
Skim thickness
A finishing skim coat over plasterboard (or over a sand/cement backing coat on blockwork) should be 2-3mm thick. This is the final smooth surface that you'll paint or wallpaper over.
If the skim is too thick - more than about 3mm - it's prone to cracking as it dries, because the surface dries faster than the material behind it. If it's too thin, it won't hide the joints and texture of the plasterboard or backing coat underneath, and you'll see ghosting of the joints through the paint.
On plasterboard, the standard approach is to apply a PVA bonding coat, let it go tacky, and then apply the skim in two thin passes. On blockwork or brick, a sand/cement backing coat (render) goes on first to provide a flat, keyed surface. The backing coat does the heavy lifting of straightening the wall; the skim provides the smooth finish.
If your walls are significantly out of plumb or uneven, the backing coat thickness needs to accommodate that - not the skim. A plasterer who tries to correct a 15mm wall deviation with skim alone is going to end up with a cracked wall.
Hollow spots
This one's satisfying to check. Tap the wall gently with your knuckles, moving across the surface in a grid pattern. Properly bonded plaster produces a consistent dull thud. Hollow spots - where the plaster has debonded from the background - produce a distinctly different, more resonant sound. You'll hear the difference immediately.
Small hollow areas near external corners and edges are fairly common and usually not a problem. Large hollow patches in the middle of a wall are a concern. Debonded plaster can eventually crack and fall away, especially if it's on a ceiling where gravity is working against the bond.
Common causes of hollow spots: inadequate surface preparation (no PVA on plasterboard, dusty or too-dry blockwork), applying plaster too thickly in one coat, or re-working plaster that's already started to set.
Do the tap test across every newly plastered wall and ceiling before the plasterer leaves. If you find significant hollow areas, they need to be cut out and re-done. Once the plaster is painted, you'll only discover them when they crack or fall.
Cracking
Not all plaster cracks are the same, and knowing the difference saves a lot of unnecessary worry (or prevents you from ignoring something serious).
Hairline shrinkage cracks appear as the plaster dries, typically in a random pattern. They're cosmetic, harmless, and easily filled before painting. Almost every new plaster job will show a few.
Cracks at plasterboard joints show up as straight lines, usually running horizontally or vertically. They indicate either the joints weren't taped, the tape was applied badly, or the wrong type of jointing compound was used. This is a workmanship issue, not a structural one, but it'll come back after filling if the root cause isn't addressed.
Diagonal cracks running at roughly 45 degrees, particularly near corners of openings (windows, doors), suggest structural movement - the building is settling or shifting. These need investigation. Don't just fill them and paint over them.
Cracks that keep growing - getting wider over weeks or months - are always worth investigating. They indicate ongoing movement rather than one-off settling.
Drying time
New plaster needs time to dry before you can decorate. The rough guide is 1mm of thickness per day - so a 2-3mm skim coat needs at least a week in normal conditions. In winter, with the heating off and poor ventilation, it can take two to three weeks.
You can tell when plaster is dry by its colour. Wet plaster is dark; dry plaster is light pink or off-white (for standard finishing plaster). The transition is gradual, with dark patches drying last - usually in the middle of large walls and behind furniture. Wait until the entire surface is uniformly light before painting.
If you paint over damp plaster, the paint will peel. Emulsion over damp plaster bubbles and flakes because the moisture can't escape through the paint film. This is why the first coat on new plaster should be a mist coat - emulsion thinned 50:50 with clean water - which soaks into the plaster and provides a key for subsequent coats.
Corner beads and edges
External corners (the edges that stick out into the room) should have metal or plastic corner beads embedded in the plaster. These provide a straight, durable edge that resists damage from knocks and bumps. Without corner beads, external corners are soft, easily chipped, and rarely straight.
Check that corner beads are plumb - use a spirit level. A corner bead that's even slightly off plumb will make the corner look crooked, and it's obvious once the wall is painted, especially if there's a contrasting colour on the adjacent wall.
Internal corners (where two walls meet, or where the wall meets the ceiling) should be clean and consistent. Lumpy, uneven internal corners are a common sign of rushed plastering. The junction between wall and ceiling is particularly visible because your eye follows the line along the length of the room - any wavering is obvious.
Party walls between dwellings must achieve specific sound insulation standards. The plasterboard and plaster specification on party walls contributes to this - skipping layers, using the wrong board thickness, or leaving gaps around the edges can reduce sound performance below the required level.
Fire resistance
This one's invisible but important. Plasterboard contributes to the fire resistance of walls and ceilings. Standard plasterboard provides 30 minutes of fire resistance. In certain locations - around staircases in loft conversions, in party walls, above integral garages - you may need fire-rated plasterboard (pink board) providing 60 minutes of resistance.
Check that the specification has been followed, especially if you're having a loft conversion. The boarding in the stairwell enclosure (the route of escape from the new loft room down to the front door) is critical. It must be fire-rated board, correctly fixed, with all joints taped and skimmed to maintain the fire barrier.
In a two-storey dwelling with a loft conversion, the stairway enclosure walls and ceiling must provide 30 minutes of fire resistance from the loft to the final exit. This typically requires 12.5mm fire-rated plasterboard with taped and filled joints.
Common Problems
Ripples visible in raking light. The wall looks fine head-on, but when afternoon sun hits it at a low angle, undulations appear like gentle waves. This is a flatness issue - the straight edge test would have caught it. Fixable with another skim coat, but disruptive once the room is decorated.
Plasterboard joints showing through paint. Visible as straight lines on the wall, these are caused by joints that weren't properly taped or were taped with the wrong compound. The solution is to cut back, re-tape with proper jointing tape and compound, and re-skim.
Damp patches appearing through paint. Could be the plaster wasn't dry before painting, or there's a moisture source behind the wall - a leaking pipe, rising damp, or condensation. Check the plaster was given adequate drying time. If it was, investigate the moisture source before redecorating.
Crumbling plaster on external walls. Usually caused by applying gypsum plaster directly to a damp wall. Gypsum plaster is not suitable for walls with any moisture content - sand/cement render or a specialist renovation plaster should be used instead. This is a complete redo, not a patch repair.
Questions to Ask Your Builder
- "What backing coat are you using, and what thickness?" - The answer should reference either a sand/cement render (for blockwork) or plasterboard (for stud walls), with a specific thickness appropriate for the background.
- "Can I do a straight edge check before you leave site?" - The plasterer should be confident enough in their work to welcome this. If they're reluctant, ask why.
- "What board are you using on the party wall / stairwell?" - If fire-rated board is required, it should be pink plasterboard (or equivalent). Standard white board does not provide the same fire resistance.
- "How long before I can paint?" - The plasterer should give you a realistic timeframe based on the plaster thickness and current conditions. If they say "couple of days" for a full re-skim in January, they're being optimistic.
Plastering Quality Checklist
A printable checklist to take on site.